






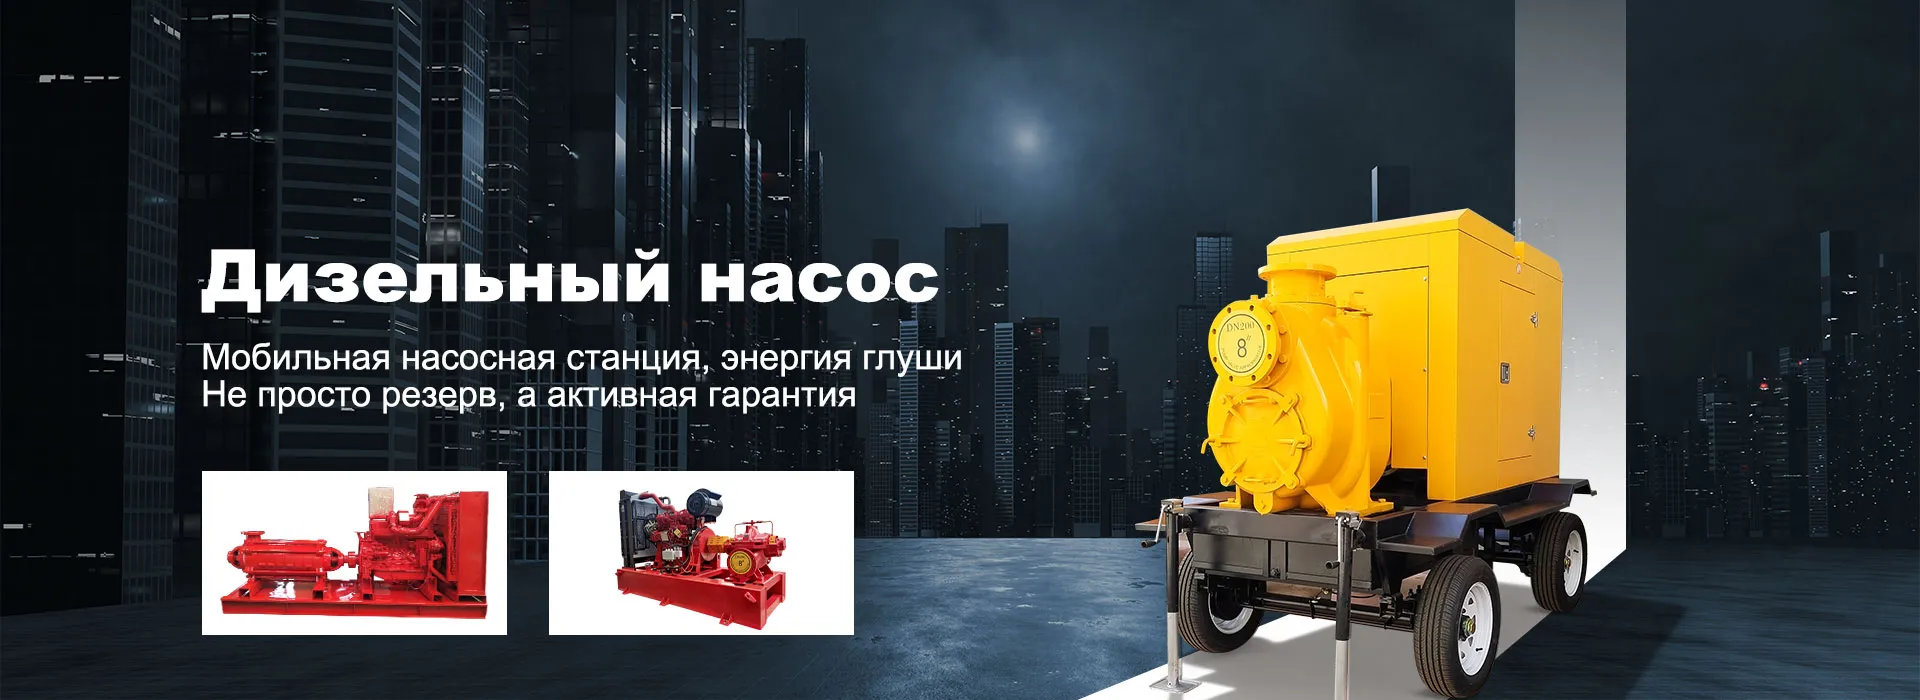
centrifugal pump assembly
When they talk aboutcentrifugal pump assembly, many people immediately imagine simply screwing together the housing and the impeller. In fact, this is a whole chain of decisions, where each step affects the final resource. The most common mistake is underestimating the preparation of the bed and the alignment of the shaft. I saw how, after a month of operation, a new pump began to “sing” at a site. — it turned out that during assembly they did not check the runout of the shaft after the wheel was seated, they thought that since the bearings were new, everything would fit on its own. It didn't get up.
Preparation is already half the assembly
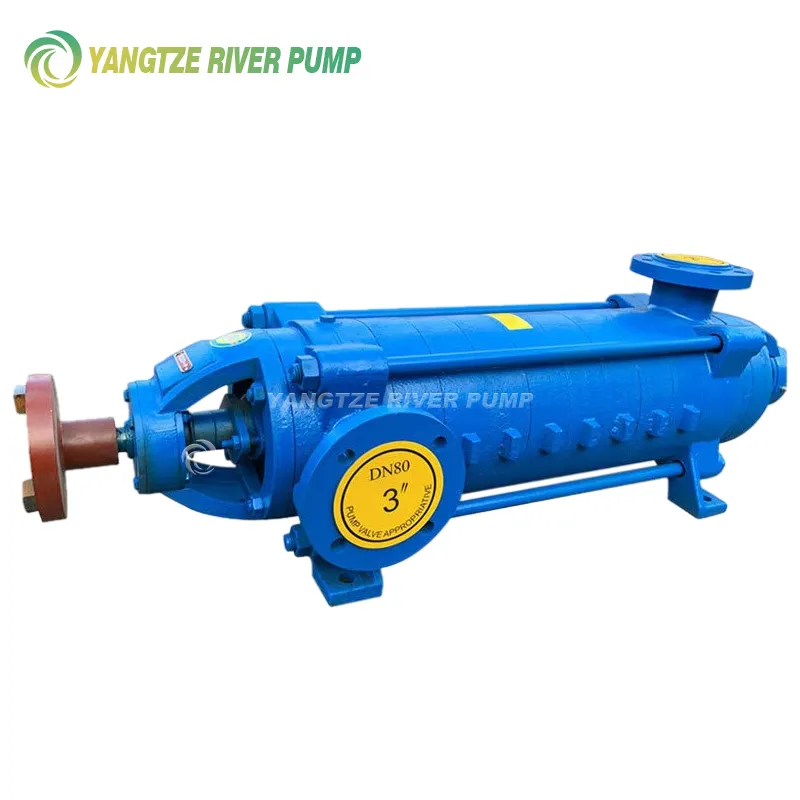
At Zhejiang Yangzijiang Pumping Industry Co., Ltd., each line has its own control card. But I always personally double-check the basic things: the condition of the bearing seats in the housing, the absence of nicks on the shaft. This is especially critical for multi-stage models - there the shaft is longer, and if there is even a slight deflection in the middle, vibration is guaranteed after assembly. The instrument is your own, proven micrometer and indicator clock. Without them it’s like having no hands.
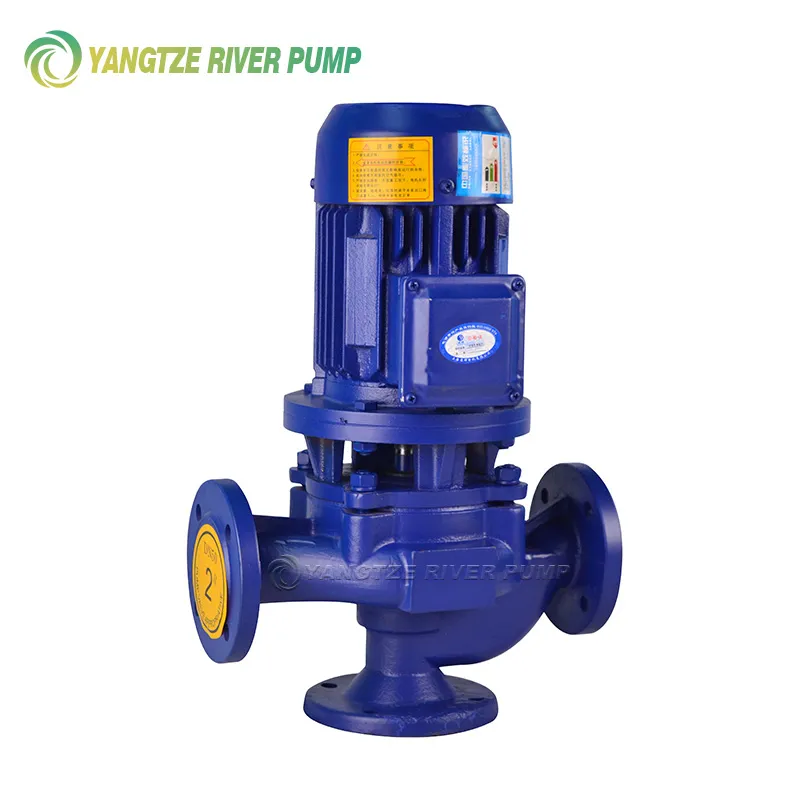
Before starting, I lay out all the components in order of installation. It seems like a small thing, but when you assemble a 10-stage pump, then you look for that very spacer bush... time is running out. From practice: for our linear centrifugal pumps, it is important to immediately reject the sealing rings with the slightest risk - during a test run under pressure they will leak, and you will have to disassemble everything again.
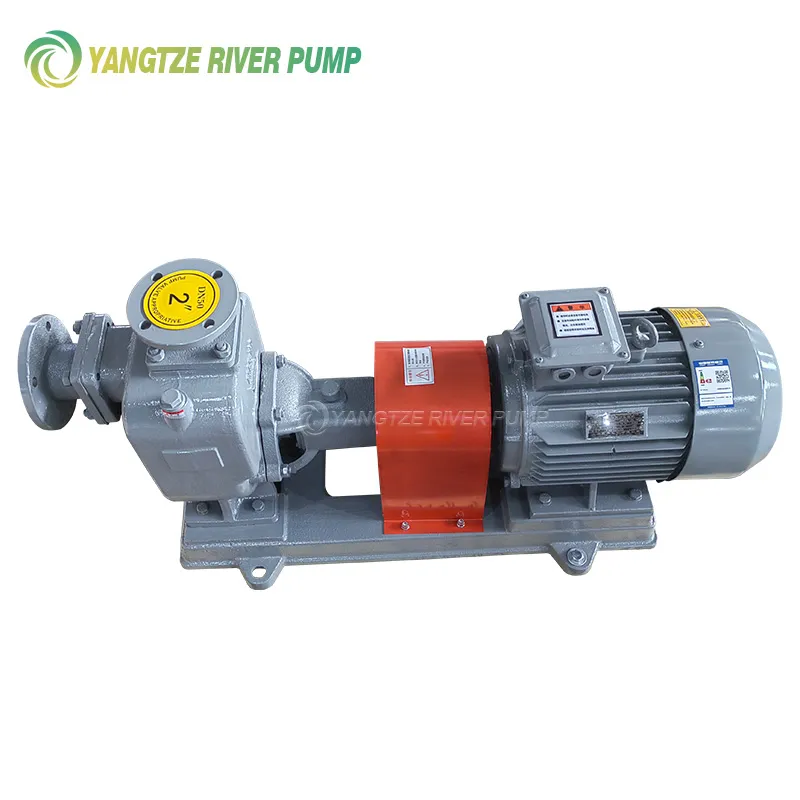
Cleaning. The parts appear to be clean from production. But metal dust, small shavings - they are anywhere. Especially in the grooves for the retaining rings. I blow it with compressed air, then wipe it with a lint-free cloth. If this is not done, the abrasive will get into the hydraulic part or, worse, into the bearing assembly. There was already a case when assembling a self-priming pump - it jammed after 50 hours. We took it apart - there were signs of wear in the oil from that same dust.
Key components: shaft and hydraulics
The shaft assembly is the heart of the process. There's no rush here. The impeller fits onto the shaft - usually with an interference fit. Warm up the wheel and carefully press it in. It is important to ensure that the seat fits all the way into the shoulder, without distortion. I check the runout along the outer diameter of the wheel with an indicator - we have a strict tolerance, no more than 0.05 mm. If it’s more, we’ll remove it and look for the reason. Sometimes the problem was in the shaft itself, and there was a small scuff in the wheel hole.
Next is the installation of protective bushings and seals. For chemical pumps, where the environment is aggressive, there is special attention to the material. We have plastic chemical pumps in our assortment, they have their own nuances: polypropylene or PVDF can “sag” when tightened, so the tightening torque of the nuts is strictly according to the data sheet, using a torque wrench. If you overtighten, the flange will crack; if you don’t tighten, it will leak.
Seal. The mechanical mechanical seal is the most capricious part. The surfaces of the rings must be perfectly clean. I use only lubricant recommended by the MU manufacturer. Once I tried a universal silicone one - when it came into contact with hot water, it polymerized, the seal stuck at the first start. A lesson for life. Now only special paste for TM.
Housing assembly and final alignment
Installing the assembled rotor into the housing. The main thing here is not to touch the wheel blades on the diffuser or body part. Clearances are small, especially in multistage pumps. I carefully start it up and turn the shaft by hand - the rotation should be absolutely free, without rubbing. If you feel even the slightest resistance, stop. I take it out and see where the trace is. Most often the problem is gasket deformation or o-ring displacement.
Screwing the body together with bolts. I tighten it crosswise, gradually, according to the pattern. A sharp distortion of the flange - and the gasket will not compress evenly and will leak. After pre-tightening, I turn the shaft again. Sometimes, due to tension in the housing, the shaft can “get jammed”. If everything is in order, I bring the moment to the passport.
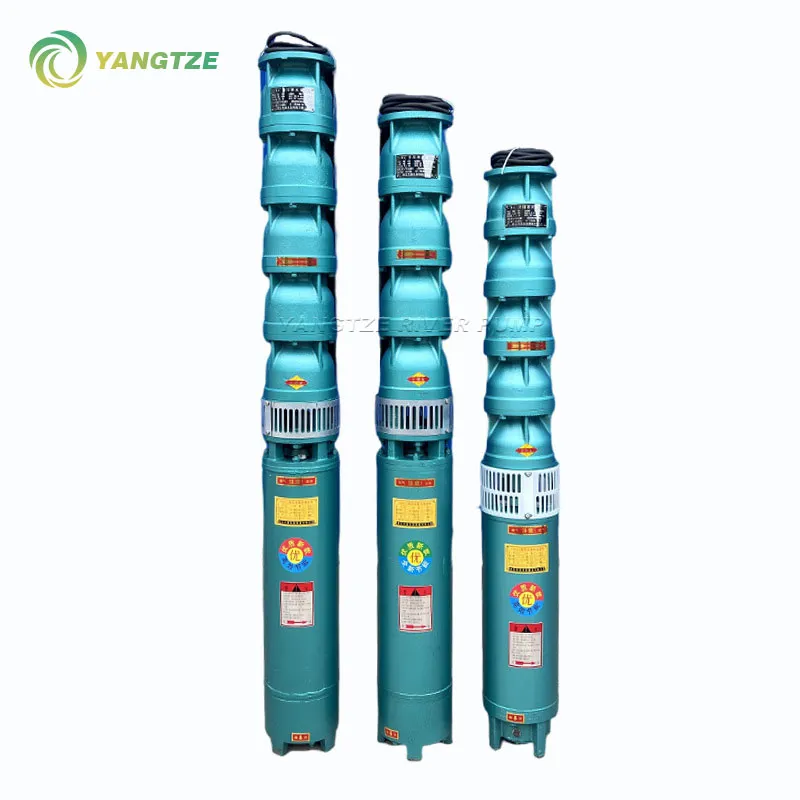
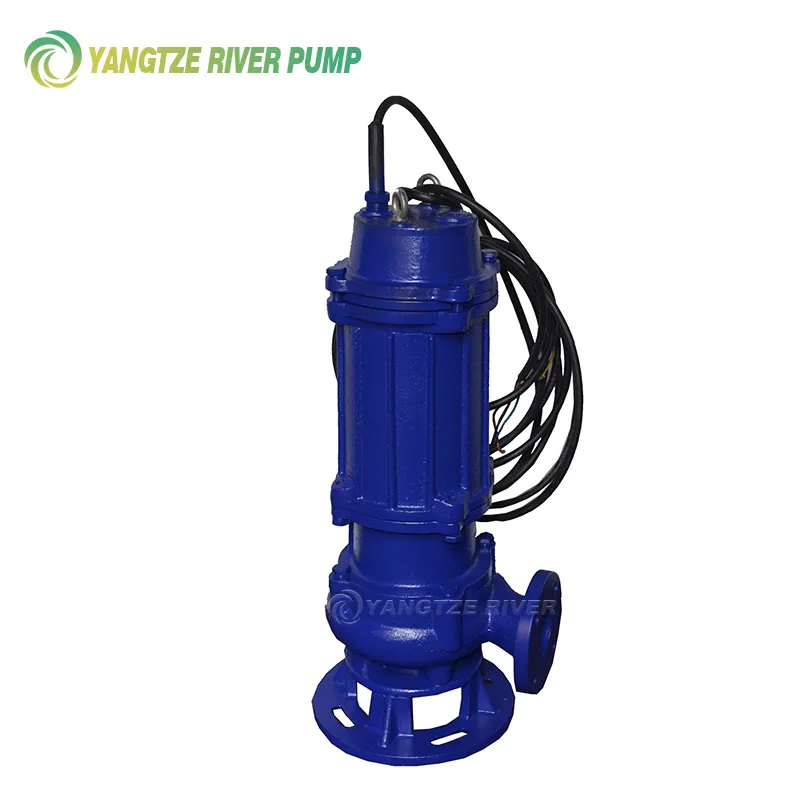
The final stage is installation on a plate or frame and alignment with a drive. This is often neglected, saying that the pump is assembled well, and then the vibration comes from the engine. I use a laser centering machine. Tolerances for parallelism and angular displacement are within 0.05 mm. Particularly important for powerful submersible pumps in an assembled module. Poorly aligned - vibration, coupling wear, bearing failure after just a few hundred hours.
Tests as a result of work
The assembled pump is sent to the test bench. On our website https://www.yangtzeriverpump.ru you can see what it looks like - a full-fledged line with parameter control. But for me the key is not just to take the characteristics according to the passport (pressure, flow), but to listen and feel the unit. The first minutes of launch are the most revealing.
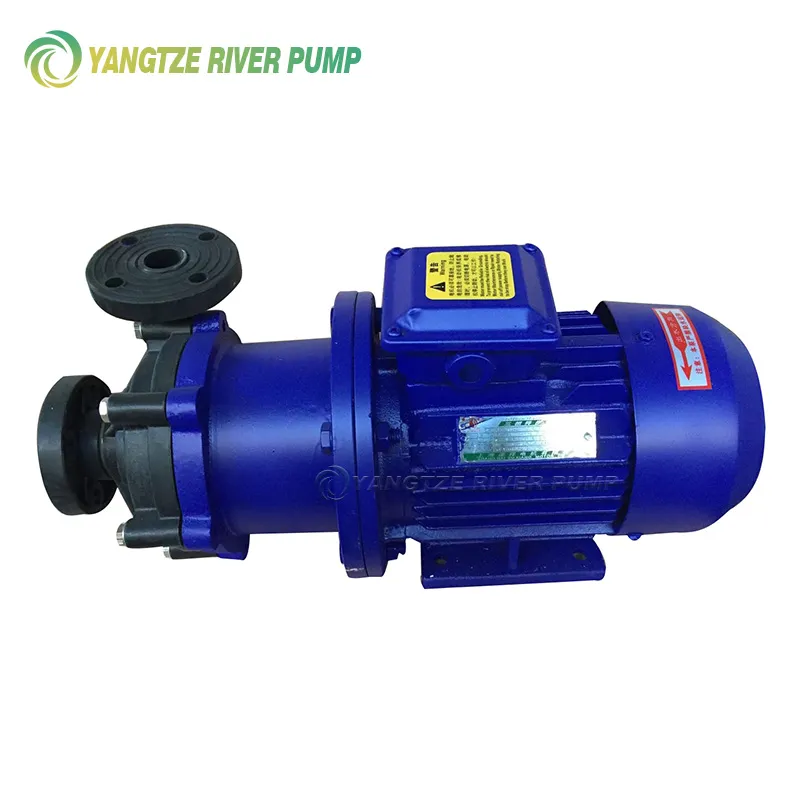
I listen to the bearing units - there should be no high-frequency howling or knocking. I look at the vibration sensor readings. If the vibration increases with increasing rpm and does not remain stable, this is a red flag. Possibly rotor imbalance or residual misalignment. Once, while testing a magnetic pump, there was a strange vibration at a certain frequency. It turned out that the imbalance was caused not by the impeller itself, but by the magnetization of the shaft after assembly - it had to be demagnetized before installation.
I check the heating. The bearing housing should be warm, but not hot. Sudden heating indicates excessive tightening or lack of lubrication. After half an hour of operation at nominal mode, I stop it, let it cool, then check all the detachable connections for leaks. Often a microleak appears only after a thermal cycle.
Mistakes that teach you dearly
I’ll tell you about one bad experience with assembling a diaphragm pump, although the principles are general. There were complex kinematics, many articulated joints. I was in a hurry and did not check the free movement of all the rods after tightening. It seemed to work on the bench, but under load, in the field, the diaphragm broke in one joint due to increased friction. The client returned it. After that, for any pumps with a reciprocating unit, he introduced an additional operation - checking the movement of all joints manually, with a force meter. It's a small thing, but it prevents failure.
Another point is working with tolerances. The documentation for single-screw pumps, for example, indicates a fairly large gap between the rotor and stator. But if you assemble it at the maximum tolerance in one direction, and then the pump runs on a viscous liquid, the performance will drop. Therefore, I try to collect closer to the middle of the tolerance range, leaving a margin for wear. This is not according to instructions, this is already from practice.
Overall,centrifugal pump assemblyis not an algorithm, but a process with constant feedback. I see a part - I assess its condition, I install a node - I check how it interacts with others. Even with eight full lines, as we have in production, the final quality still depends on the attention and understanding of the process by those who assemble. No automatic stand will sense slight rubbing when turning the shaft manually. This is the very difference between a simply assembled and correctly assembled unit, which then works for years without problems at the customer’s site.
Correspondingproducts
Related Products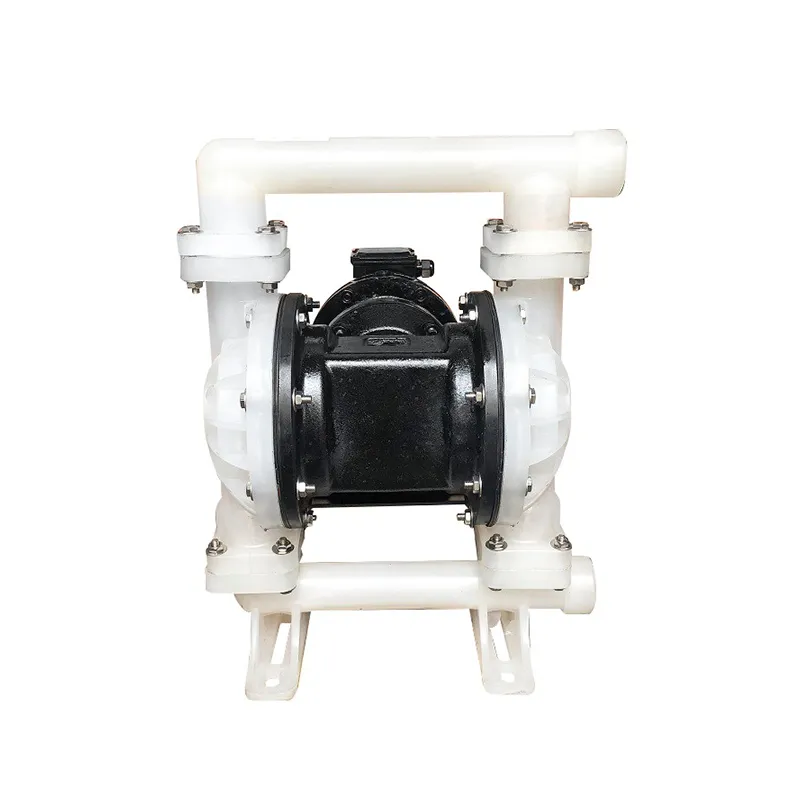
Best Sellingproducts
Best Selling Products-
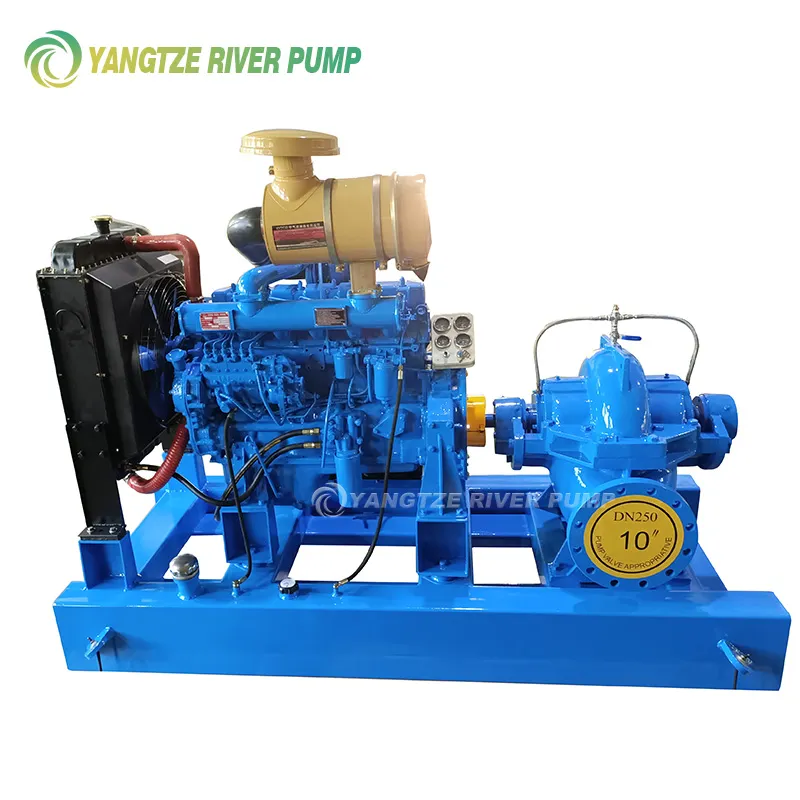 Diesel pumps with horizontal connector YZS and YZSH
-
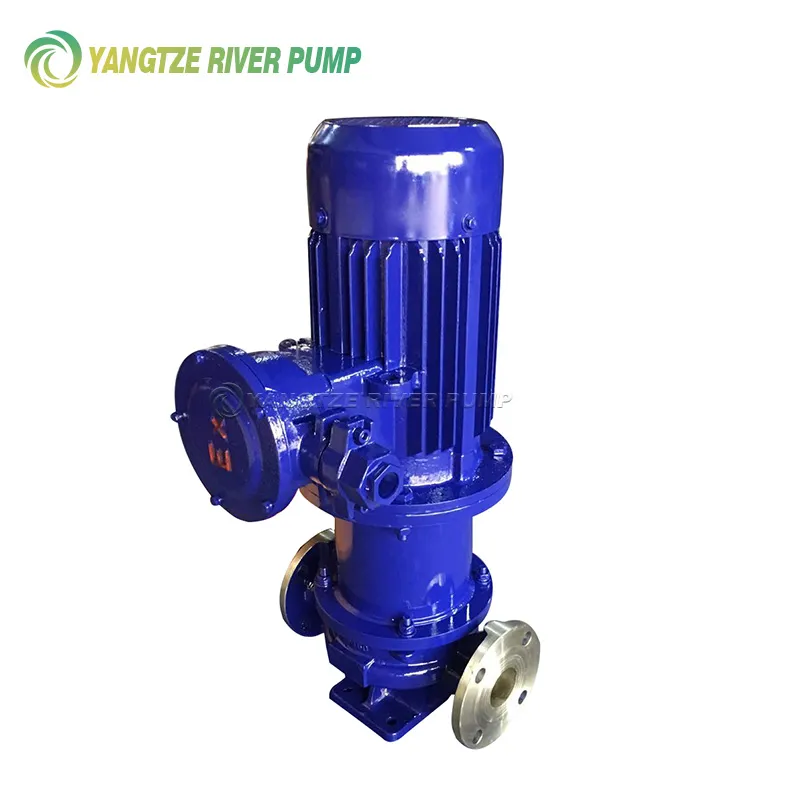 Vertical magnetic pumps CQB-L
-
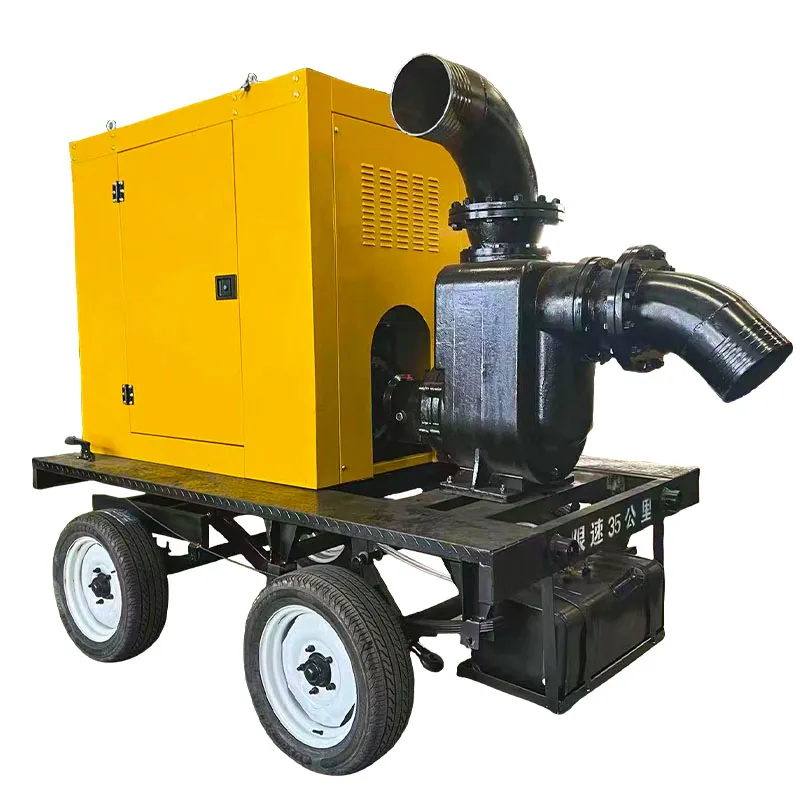 YZZW Diesel self-priming pumps
-
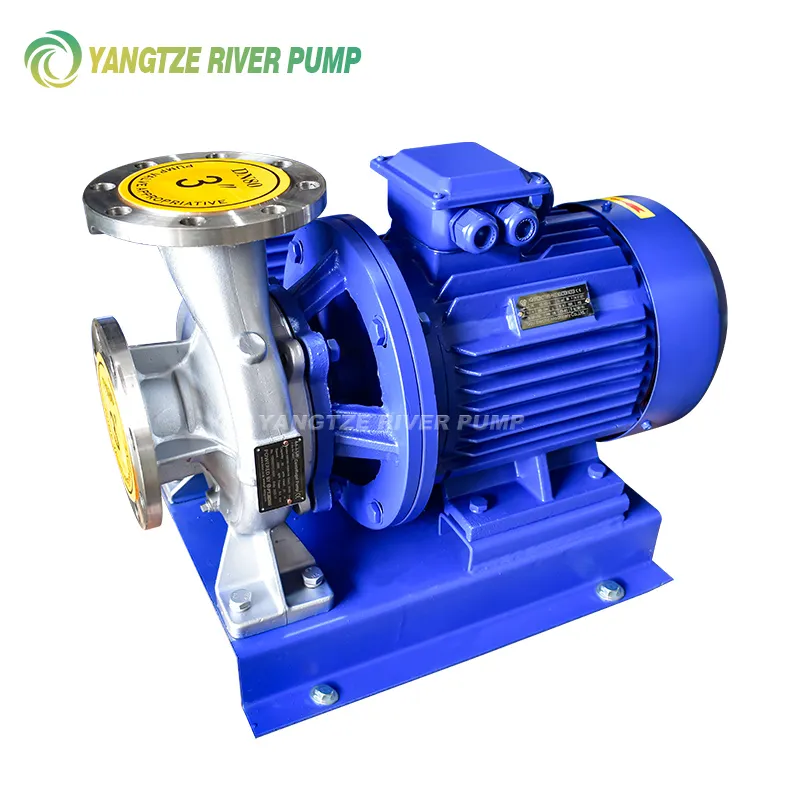 ISW and ISWH Single Stage Horizontal Pipeline Centrifugal Pumps
-
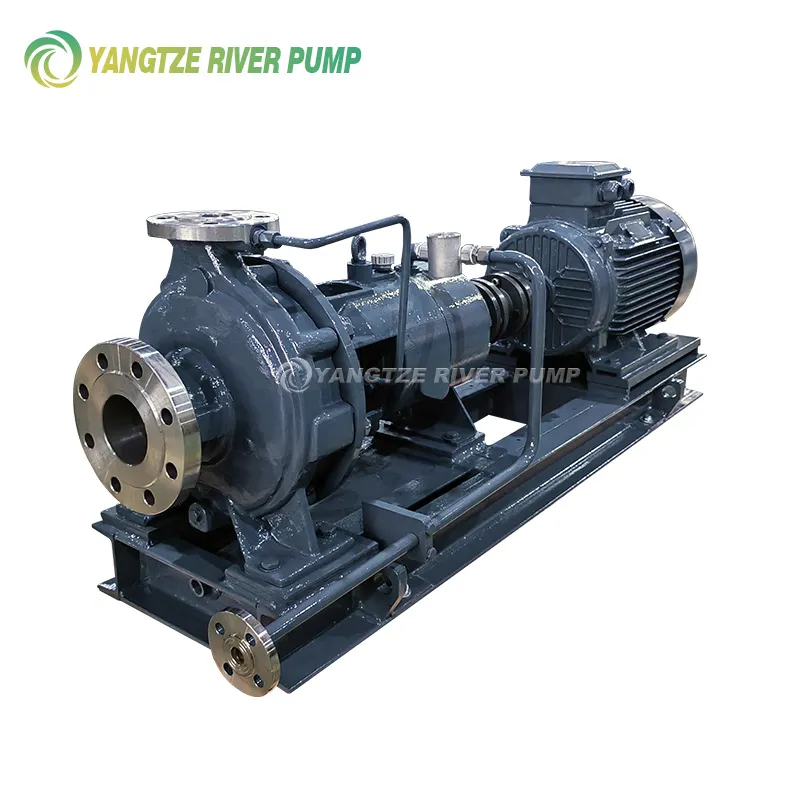 Petrochemical Process Pumps API 610 YZA
-
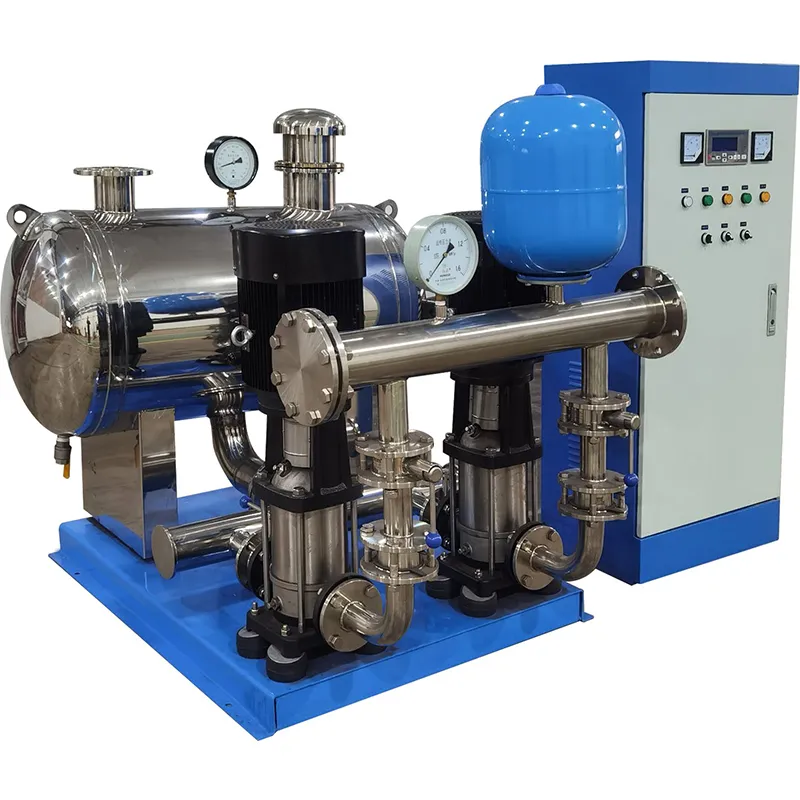 Complete water supply installations with frequency regulation and constant pressure CDLF
-
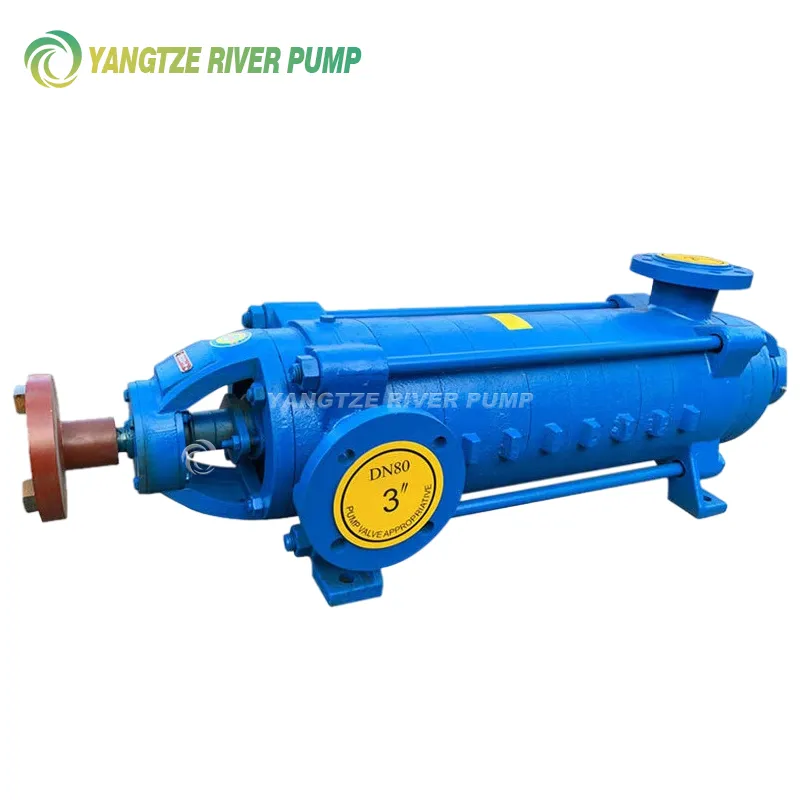 Horizontal multistage pumps for feeding DC boilers
-
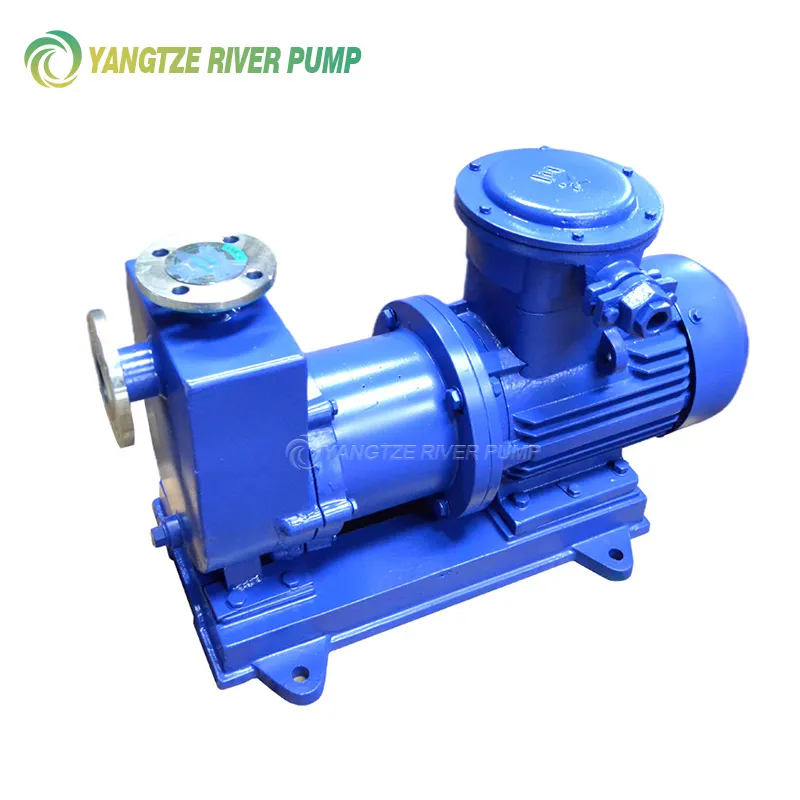 ZCQ Stainless Steel Self-Priming Magnetic Pumps
-
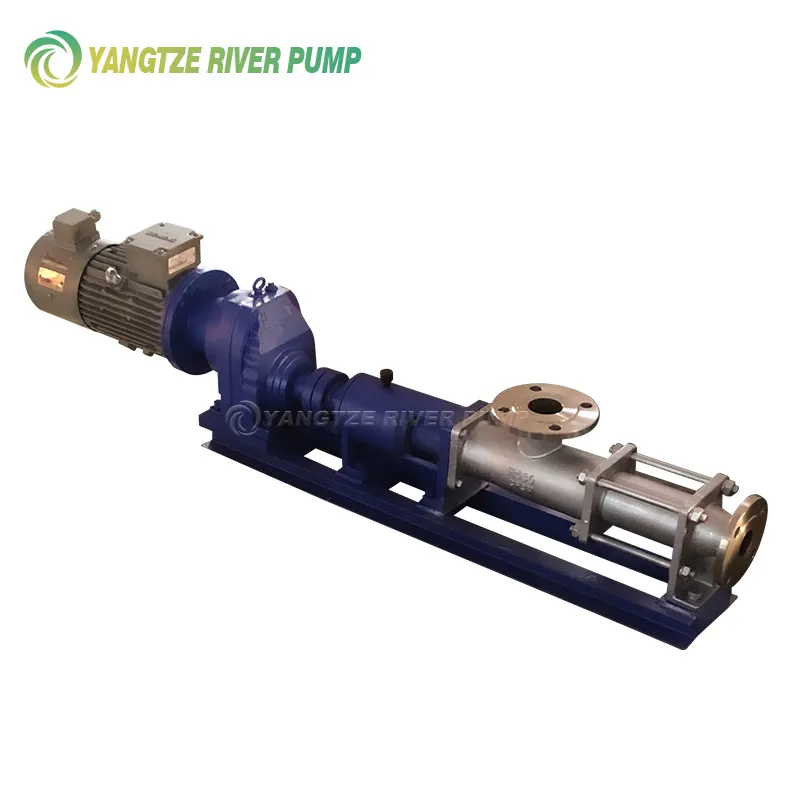 Geared screw pumps type G
-
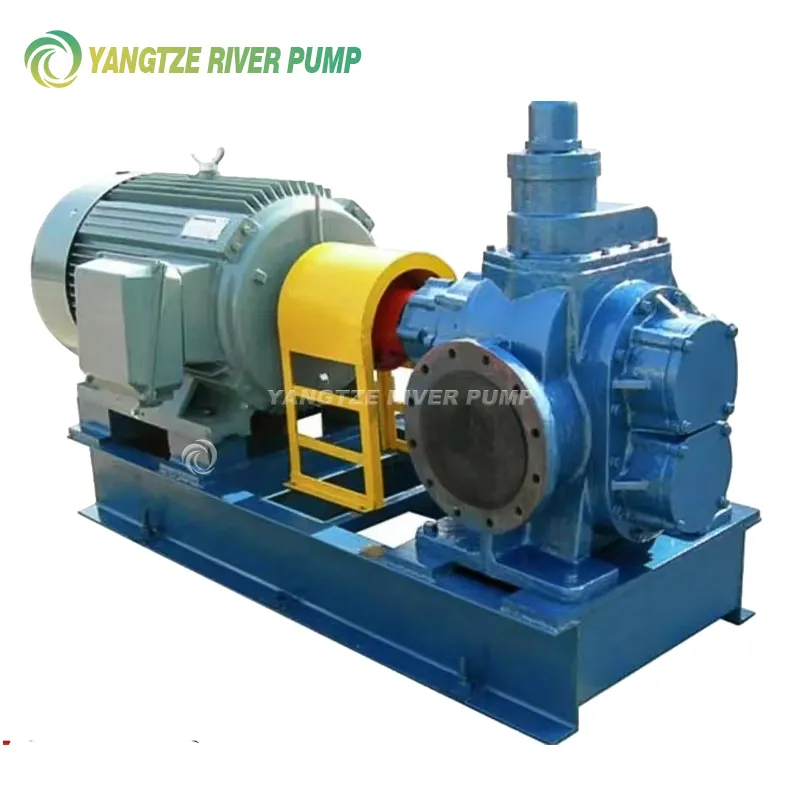 YCB Type Circular Gear Pumps
-
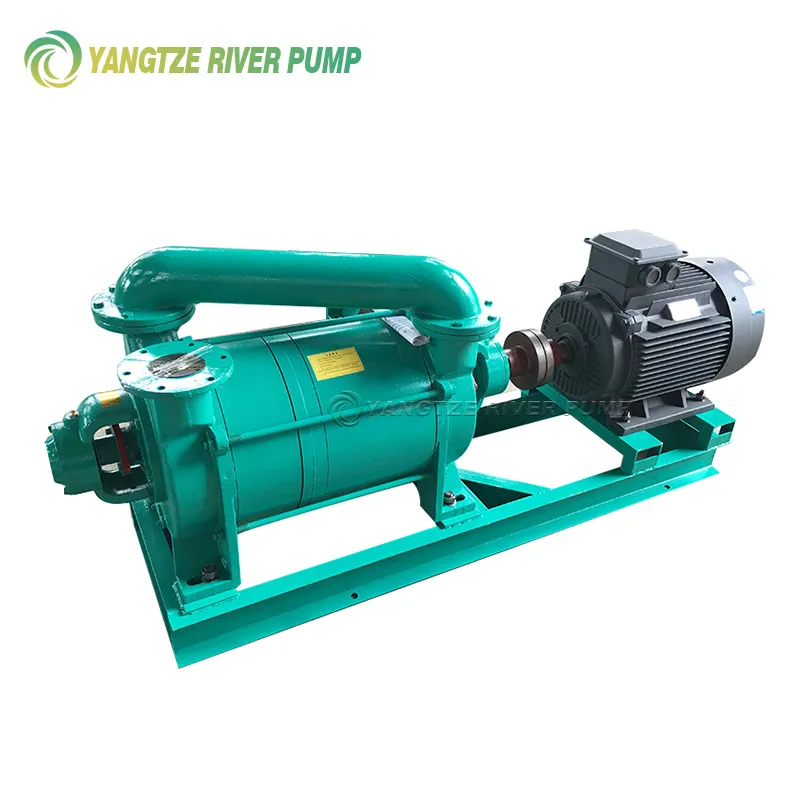 Liquid ring vacuum pumps type 2SK
-
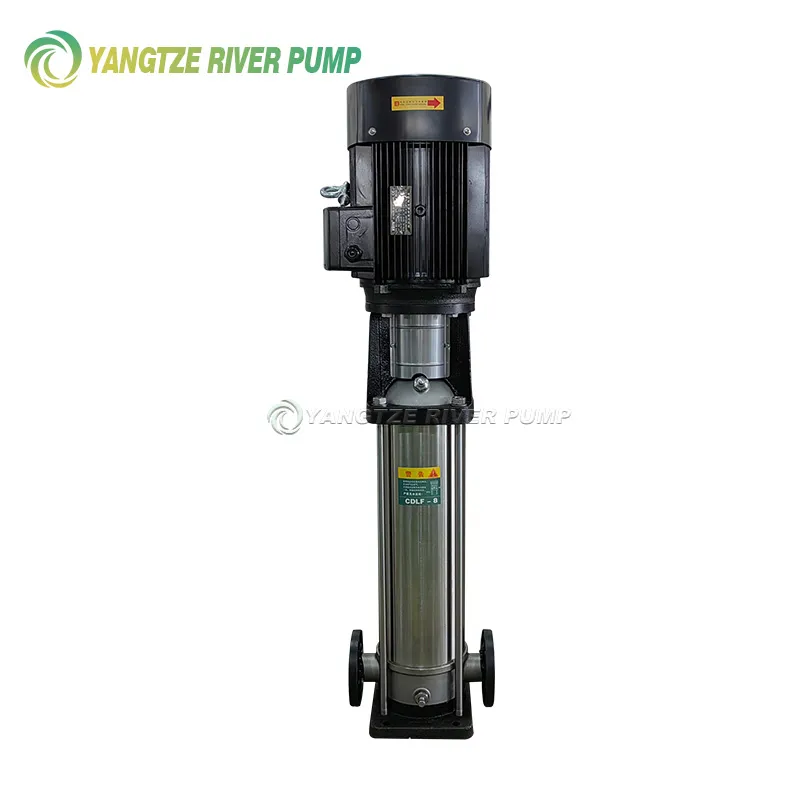 Vertical multistage centrifugal pumps made of stainless steel (light series) CDL and CDLF